Overview
This page mirrors the FUYL Google Workspace SSO connection wizard as of August 14th, 2025. The connection wizard itself will always be the most up-to-date reference. This page should only be used in scenarios where:
- Non-FUYL Admins are required to review the connection process
- Internal documentation requires a local copy of any processes undertaken
Preparation
Before you begin, ensure you have:
- Administrative access to the Google Admin console .
- Access to the FUYL.io portal to begin this wizard.
- The necessary permissions to add and configure custom SAML applications, edit SSO settings, and assign users or groups in Google Workspace.
- A test user account to validate the SSO configuration before making it available to all users.
Guide
Add a Custom SAML Application
Sign in to the Google admin dashboard.
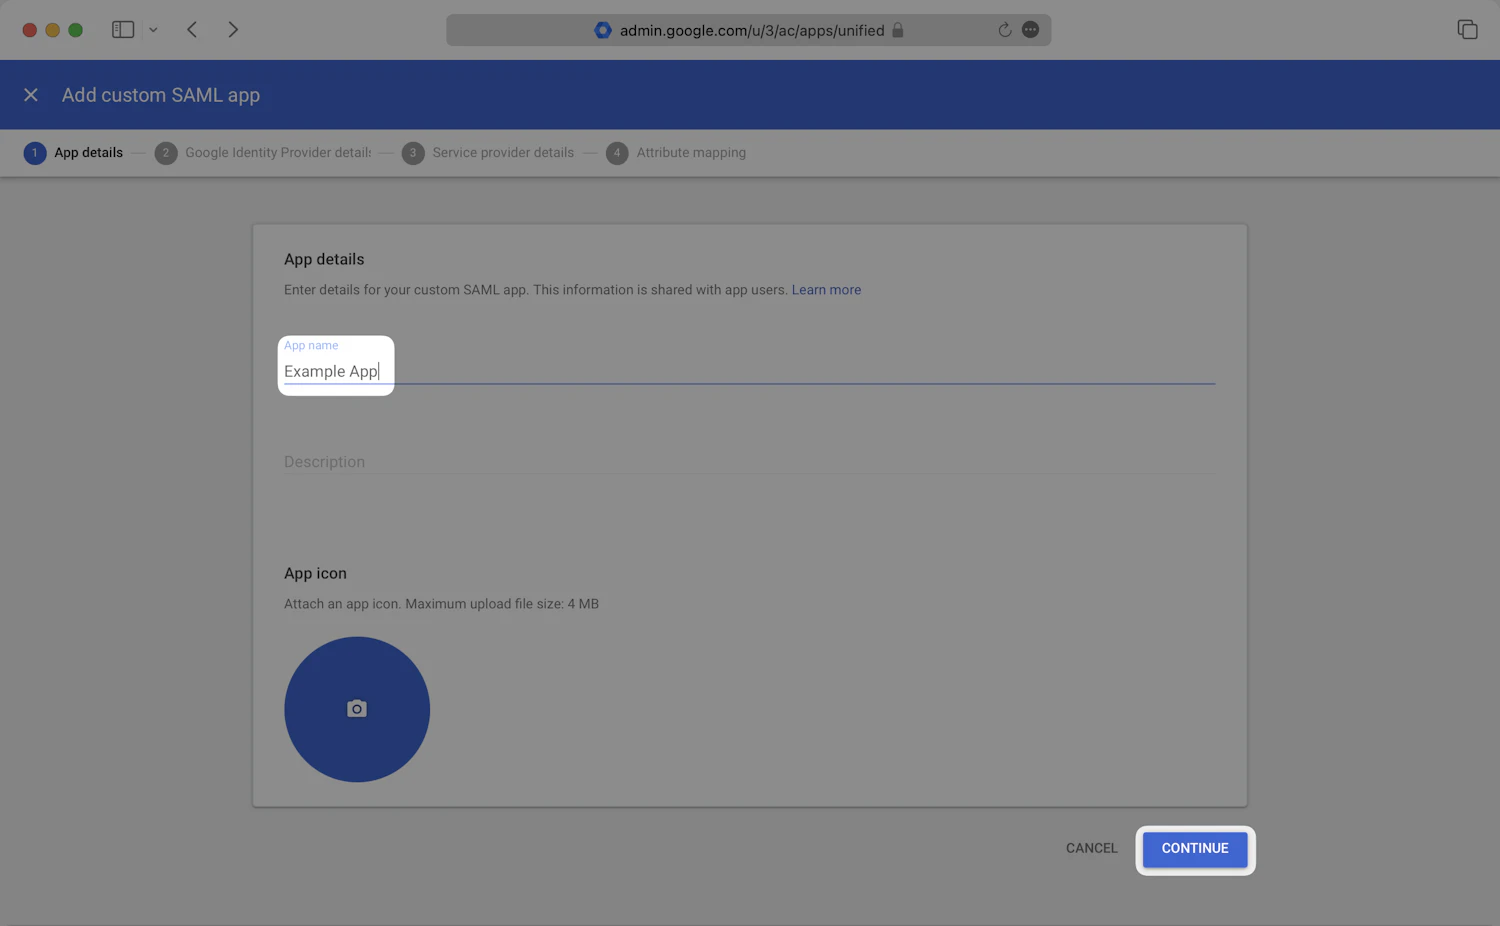
In the left navigation menu, expand the Apps section. Select the Web and Mobile Apps tab. Click Add App and then Add custom SAML app.

The Add custom SAML app wizard will open. On the App details step, enter an appropriate app name, such as "FUYL.io". Optionally, set an app logo as well. Click Continue.
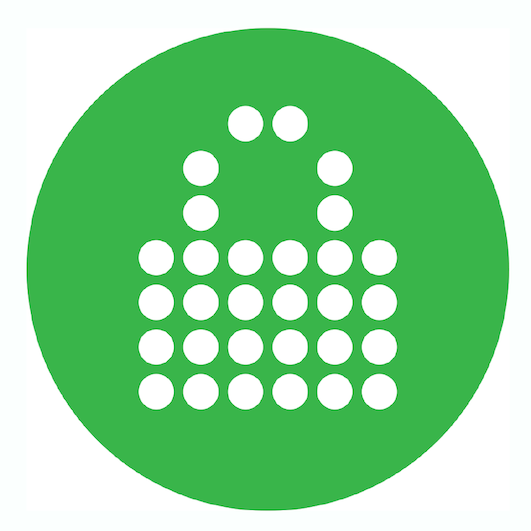
App icon
Optionally, you can add an App icon to serve as the app's entry point on the Google Workspace App Dashboard. Including an icon helps users easily identify and access FUYL.io.
The following icon is available for you to use. Download the image and then upload it to Google Admin dashboard.
Upload Identity Provider Metadata
The configuration wizard allows for a "Dynamic" or "Manual" flow at this stage. Documented below is "Dynamic".
On the Google Identity Provider details step of the wizard, click Download Metadata.
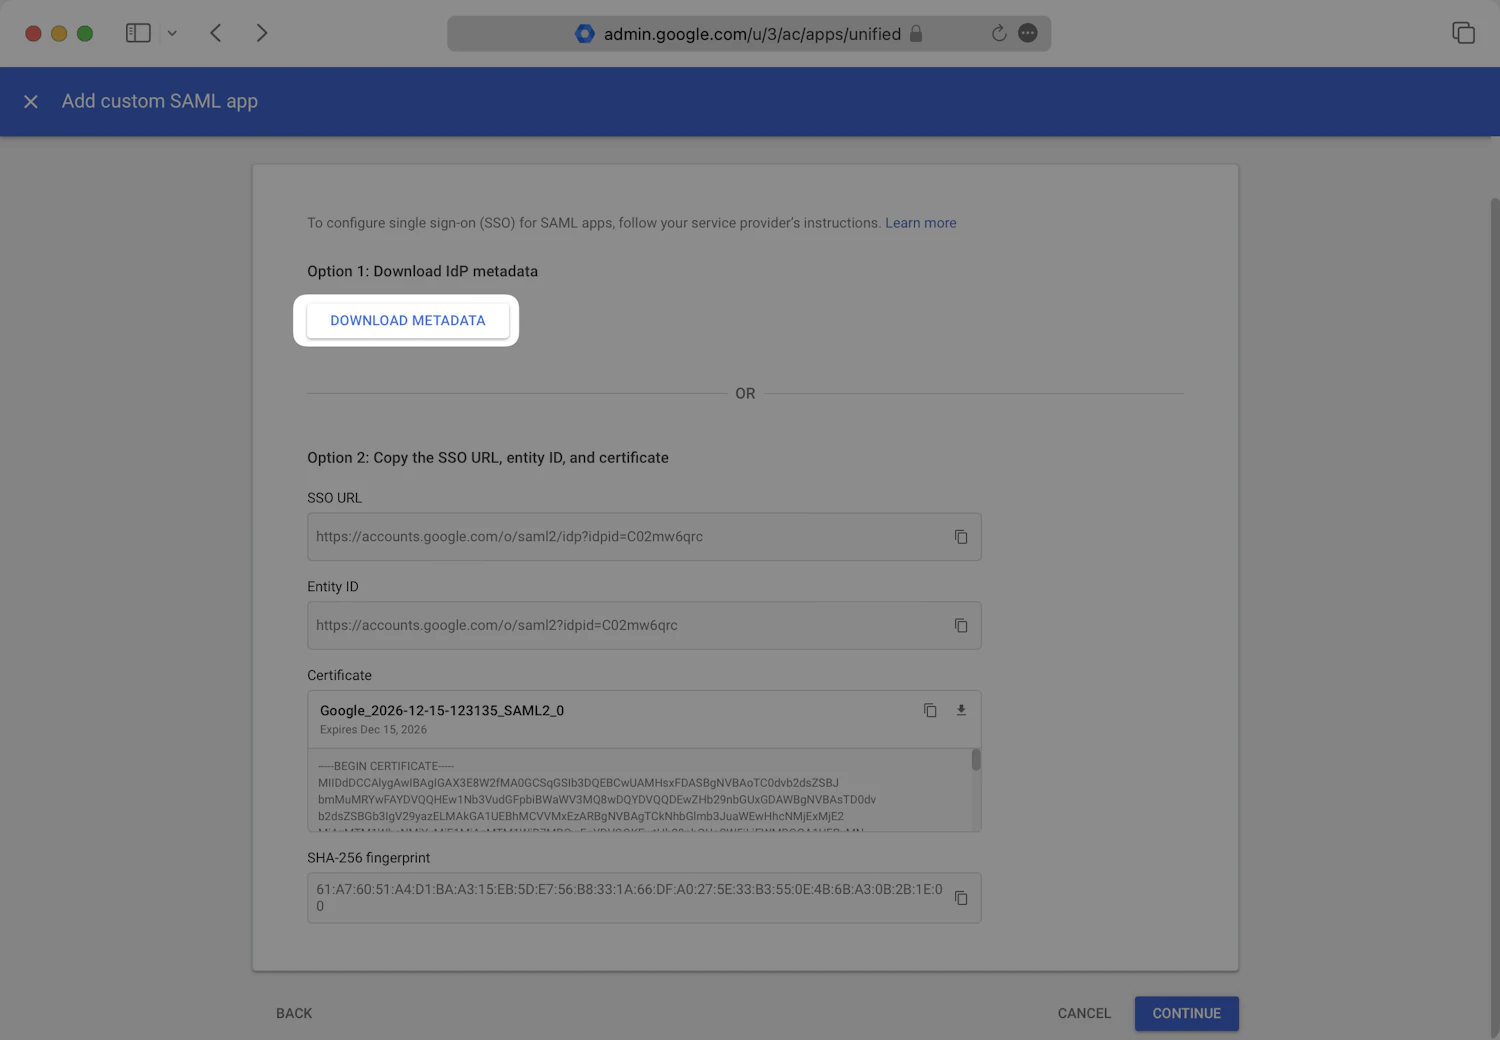
Upload the XML metadata file below to continue to the next step.
The user is given an upload prompt for their Metadata file here.
Configure Service Provider Settings
On the Service provider details step of the wizard, copy the ACS URL and Entity ID below and paste them into the Google admin dashboard.
Assertion Consumer Service (ACS) URL:
https://auth-api.fuyl.io/sso/saml/acs/AUniqueACSURLEntity ID:
https://auth.lockncharge.com/AUniqueEntityURL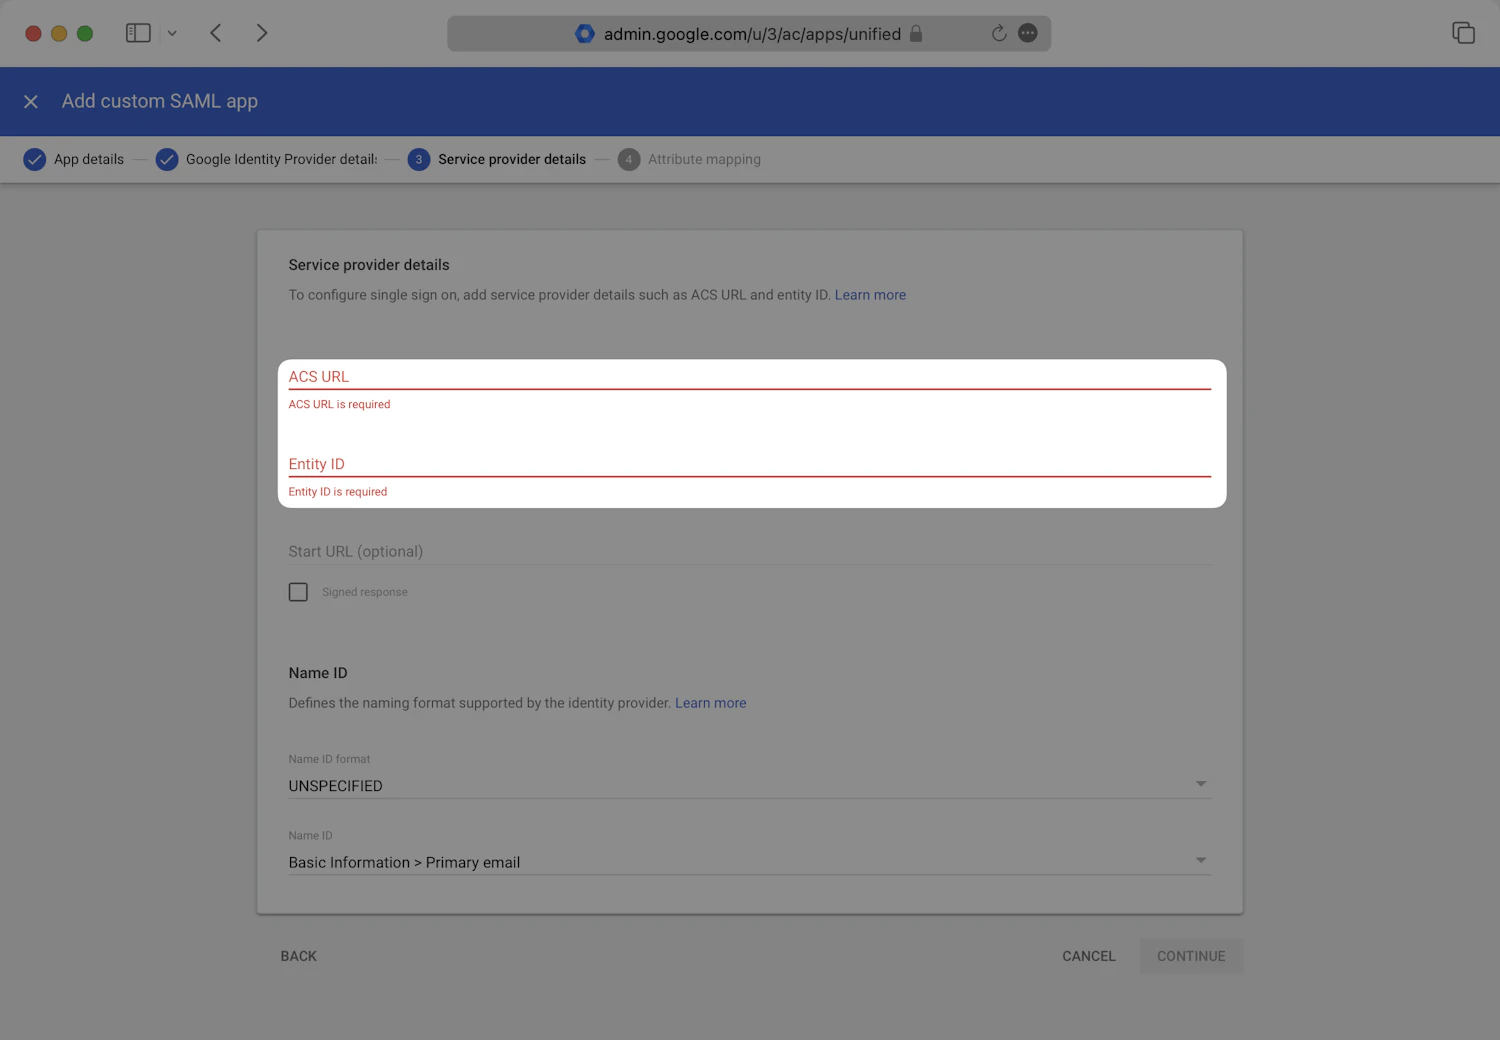
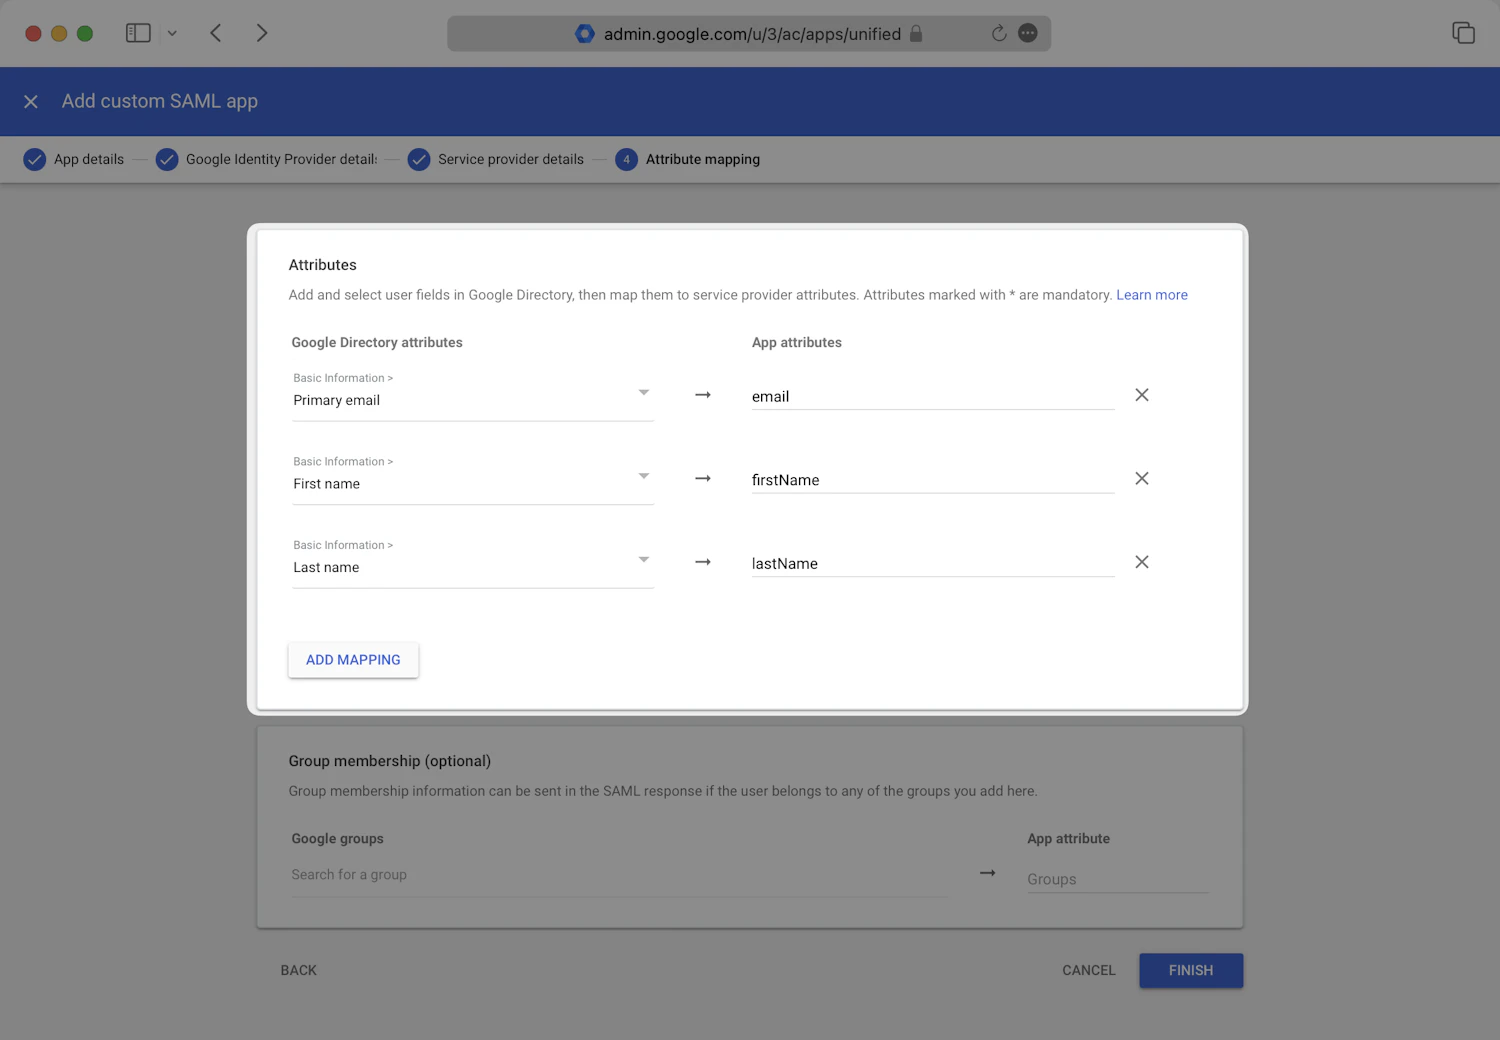
Configure SAML Attributes
On the Service provider details of the wizard, add the attribute mappings listed below.
| Google Directory attributes | App attributes |
|---|---|
| Primary email* | |
| First Name* | firstName |
| Last name* | lastName |
* Indicates a required attribute
Configure User Access
In the new app page, locate the User Access section. Click View details.
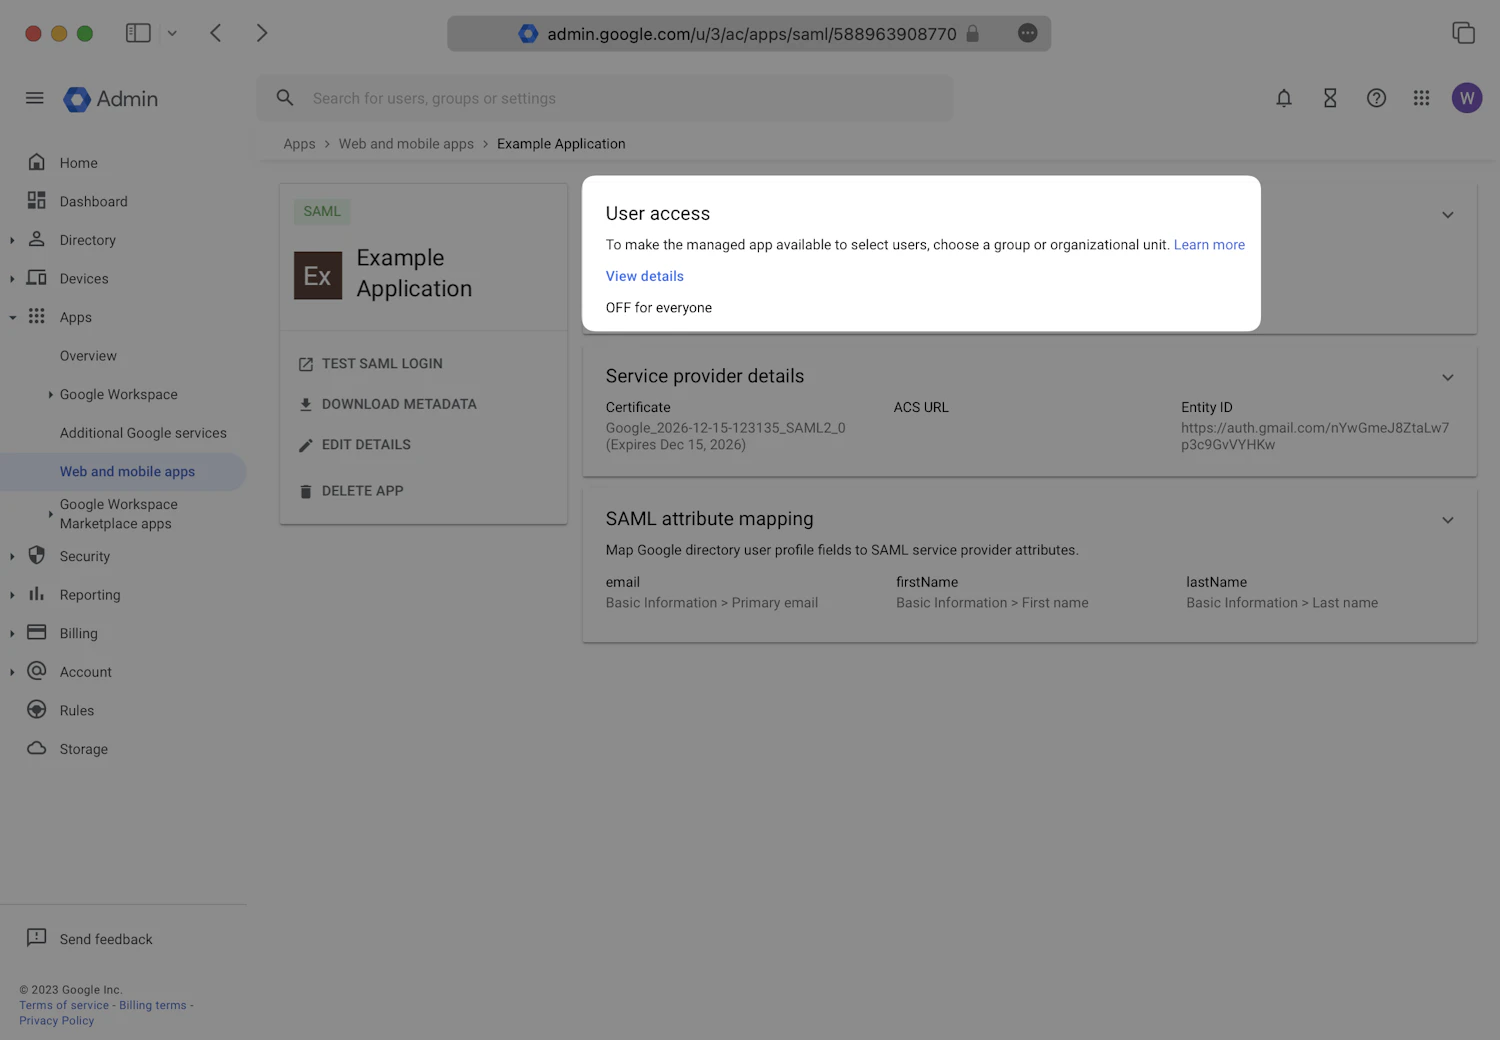
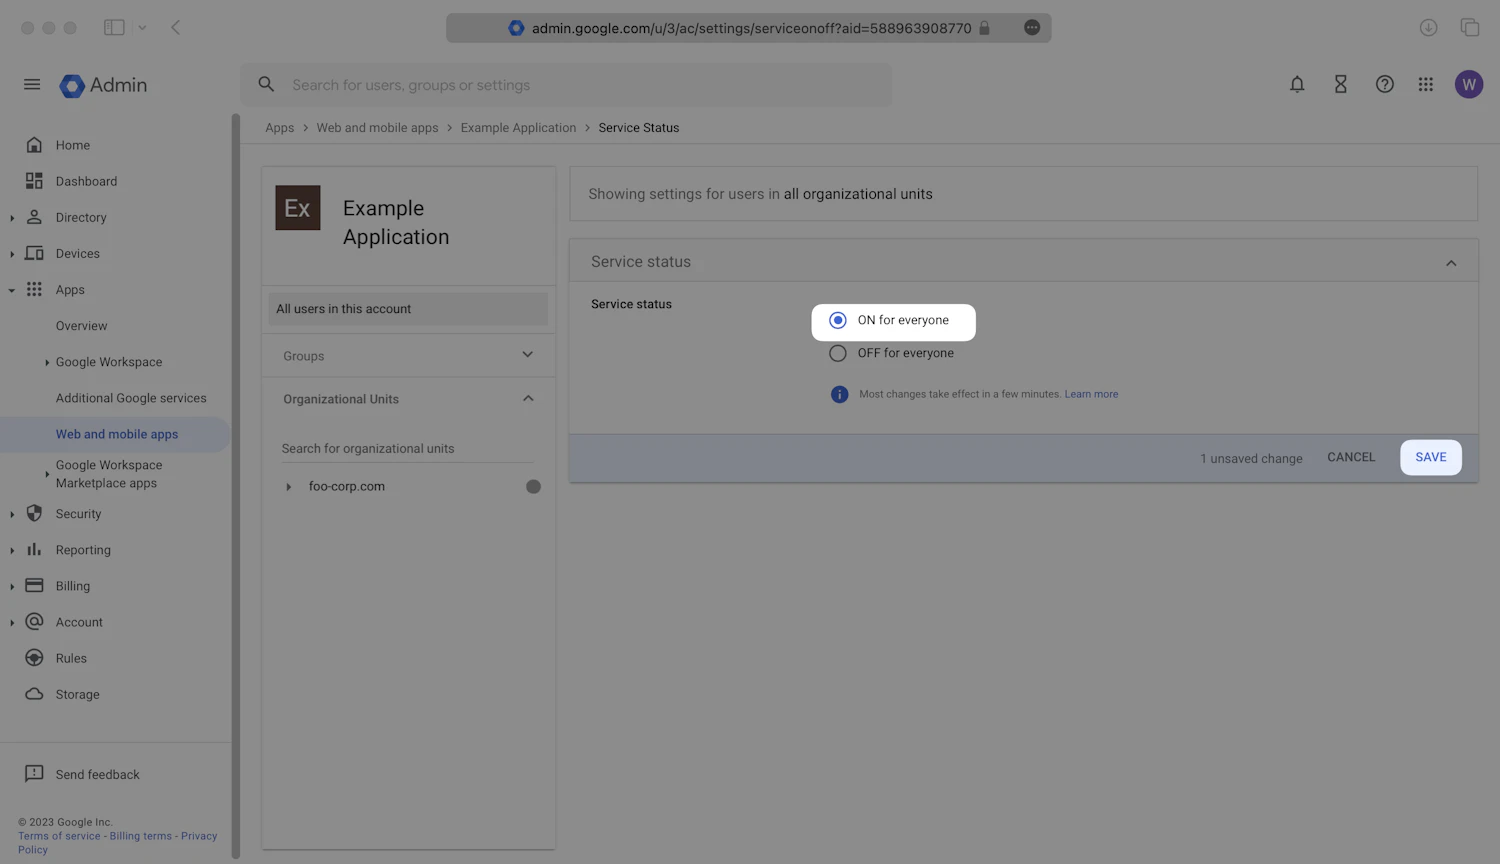
Turn this service ON for the appropriate organizational units in your Google Application. Click Save.
Be aware that Google may take up to 24 hours to propagate these changes. The connection may be inactive until the changes have propagated.
Test Single Sign-On
Test signing in with Google to verify that the single sign-on connection was configured correctly.